Darkwana Games
  • Home
  • Instructions
    • Read Me First!
    • Player's Aid
    • Getting Started
    • Character Board Anatomy
    • Card Anatomy
    • Card Types
    • Taking Your Turn
    • Common Effects
    • Advance Rules
    • Terminology
    • Other Modes of Play
  • Character Boards & Cards
    • Adiba
    • Boudicca
    • Callisto
    • Europa
    • Hyde
    • Rebecca
    • Seth
    • Tenko
  • Novels
    • Daughters of Darkwana
  • More
    • Home
    • Instructions
      • Read Me First!
      • Player's Aid
      • Getting Started
      • Character Board Anatomy
      • Card Anatomy
      • Card Types
      • Taking Your Turn
      • Common Effects
      • Advance Rules
      • Terminology
      • Other Modes of Play
    • Character Boards & Cards
      • Adiba
      • Boudicca
      • Callisto
      • Europa
      • Hyde
      • Rebecca
      • Seth
      • Tenko
    • Novels
      • Daughters of Darkwana
Darkwana Games
  • Home
  • Instructions
    • Read Me First!
    • Player's Aid
    • Getting Started
    • Character Board Anatomy
    • Card Anatomy
    • Card Types
    • Taking Your Turn
    • Common Effects
    • Advance Rules
    • Terminology
    • Other Modes of Play
  • Character Boards & Cards
    • Adiba
    • Boudicca
    • Callisto
    • Europa
    • Hyde
    • Rebecca
    • Seth
    • Tenko
  • Novels
    • Daughters of Darkwana

Duelists of Darkwana: Seth's character board

Hit hard, ramps fast, and draw lots of cards. Great character for your first game . . . and your seven-hundredth.

Seth's ability allows him, to spend an action to shuffle a card from his discard pile into his deck. This makes him dangerous to play against. His deck allows him engines that let him burn through his deck. At that point, his ability puts whichever card he wants to draw next in reach, as he'll "shuffle" only that card into an otherwise empty deck.


Since you can't spend actions outside your Action Phase (and you typically wouldn't have any to spend yet, anyway), Seth cannot use his ability before his Draw Phase.


Rebecca: When fighting Rebecca, Seth will want to invest at least 2 points in Combat (for total of 3 points). This is especially true if Rebecca starts stacking points in Knowledge. Afterwards, Seth will want to dig Assassinate and Spiral District from his deck and hang onto them. This will give Seth the fuel he needs to deal with Rebecca's Relics and Items. Seth's ability will help him recycle those 2 Events without having to reload, allowing him to keep Rebecca from rebuilding those foundations. Remember also that Rebecca's deck holds little token destruction, so using your Supports against her isn't the worst backup plan.


ADIBA: Seth will want to swing for damage at least once every turn. He'll also want to get cards out of his deck and in his hand as quickly as possible, to avoid Adiba banishing any of Seth's better cards. If Adiba invests in Influence, Seth should invest in Combat and get his hands on Assassinate as quickly as possible, so he can destroy the Stamina tokens Adiba puts on her deck-devouring Supports. Whatever you do, don't let Adiba banish Mount Tantrum from your (Seth's) deck, even if you don't plan on playing it. If Adiba banishes that card before getting her Item, Teleportation Pad on the field, she could easily play it from the banish pool, using it against Seth.


BOUDICCA: Seth shouldn't try to nickel-and-dime Boudicca's hit points, as her ability (and her Item, Sick Bay) will likely give Seth a headache for his efforts. Instead, go for a one- to two-hit swing for lethal damage. This is easily achievable, since Boudicca will likely spend her hit points for value during the game. Keep an eye out for Boudicca's Knowledge, Event card, Combat Medic. If it hasn't made an appearance, try to hold out as long as you safely can, and deal ALL your damage in a turn or two. (for example: get Arondight on the field, then to cycle Mount Tantrum back into your hopefully empty deck so you can redraw and replay it next turn). Boudicca's Knowledge, Event, Combat Medica can regain her lost hit points, but a player can't have more than their max of 20 hit points. So, if Boudicca's investing in Knowledge, save your big swings until either Combat Medic gets used, OR you can close the deal quickly.


HYDE: Seth's advantage against Hyde is simple. Seth can produce high-speed damage. Hyde can't. Push that advantage. Draw and ramp quickly. Try to deal damage every turn. Keep the pressure on Hyde. If you don't finish him quickly, Hyde's engines will start popping off and bury you.


TENKO: Just as when he fights Adiba, Seth should draw as many cards as possible as quickly as possible when fighting Tenko. There's no hand-size limit, so get greedy, even if you need to "waste" a turn or two to empty your deck. Just as Adiba can't use her ability to banish cards from an empty deck, Tenko can't use hers to steal cards that aren't there. This is especially true if Tenko's investing in Knowledge. Tenko's Items let her discard cards for value. Don't let her discard yours. Make her toss away her own options. Save your Combat, Event card, Assassinate, for Baraka, should Tenko play that Support.


CALLISTO:  This is the only character (so far) with moves faster than Seth's--but there's a catch. To really jump start his engines, Callisto will usually need to spend his first couple actions, maybe even first couple of turns) setting up by using his ability to fill his deck with Daggers. Don't let that head start go to waste. Start hitting him quickly. Also, put some points in Knowledge and get your Item, Bokken, on the field, as this will help protect Seth against Callisto's pesky Daggers.


EUROPA: You want to keep your eye out for Assassinate, because you'll inevitably need that Combat, Event card to wipe away Europa's Bleed tokens. Remember that Europa can raiding Discard piles, so be careful what you leave available in yours. Reloading practically costs you an entire turn, so Seth should use his ability and his Influence, Event card to keep his best weapons out of his discard and thus out of Europa's reach (basically the opposite strategy as when Seth deals with Adiba or Tenko).


Cocky and wearing a chip on his shoulder, Seth quickly makes a name for himself after he applies to the Inari Clan.

He trains beside Olivia and Tenko, under House Mother Yukari.


This kitsune-human half-breed possesses powerful telekinesis . . . which seems mysteriously unrelated to kitsune magic.


Orphaned by his parents, he seeks a stage upon which he can prove his worth.

This leads him to become something of a bully to the other students at Inari House.

However, his rivalry with Nigel humbles him for the better.


Eventually, he finds a mentor in Rebecca's father, Jason Riggs.

As a member of the border guard, Riggs monitors portals between worlds.

Riggs sees potential in Seth, and teaches him swordsmanship.


. . . Eventually, Seth learns the horrible identity of his father.

Get started with the first novel in the series: Daughters of Darkwana!

Click the link below.

Daughters of Darkwana

How Support Cards Work

Play a Support from your hand at the cost of 1 action.


When you do, place the card face-up on your side of the field, above your character board.

This puts the card both "in play" and "under your control."


Next, place a number of Stamina tokens on that Support equal to the number of points

you have in Influence at that exact moment.


While on your side of the field, Supports offer continuous effects to aid you.


Unless the Support says otherwise, you do not need to spend an action to activate the effect(s) of a Support already in play (you spend an action to put it from your hand onto the field, but, once it's there, it's typically free to activate).


At the start of your turn(s), remove 1 Stamina from every Support you control.


The instant a Support has no Stamina, destroy it (sending it to its discard pile).


Like Items, Supports have an orange trigger box above their text box, telling you when and how often its effects are triggered or can be activated.

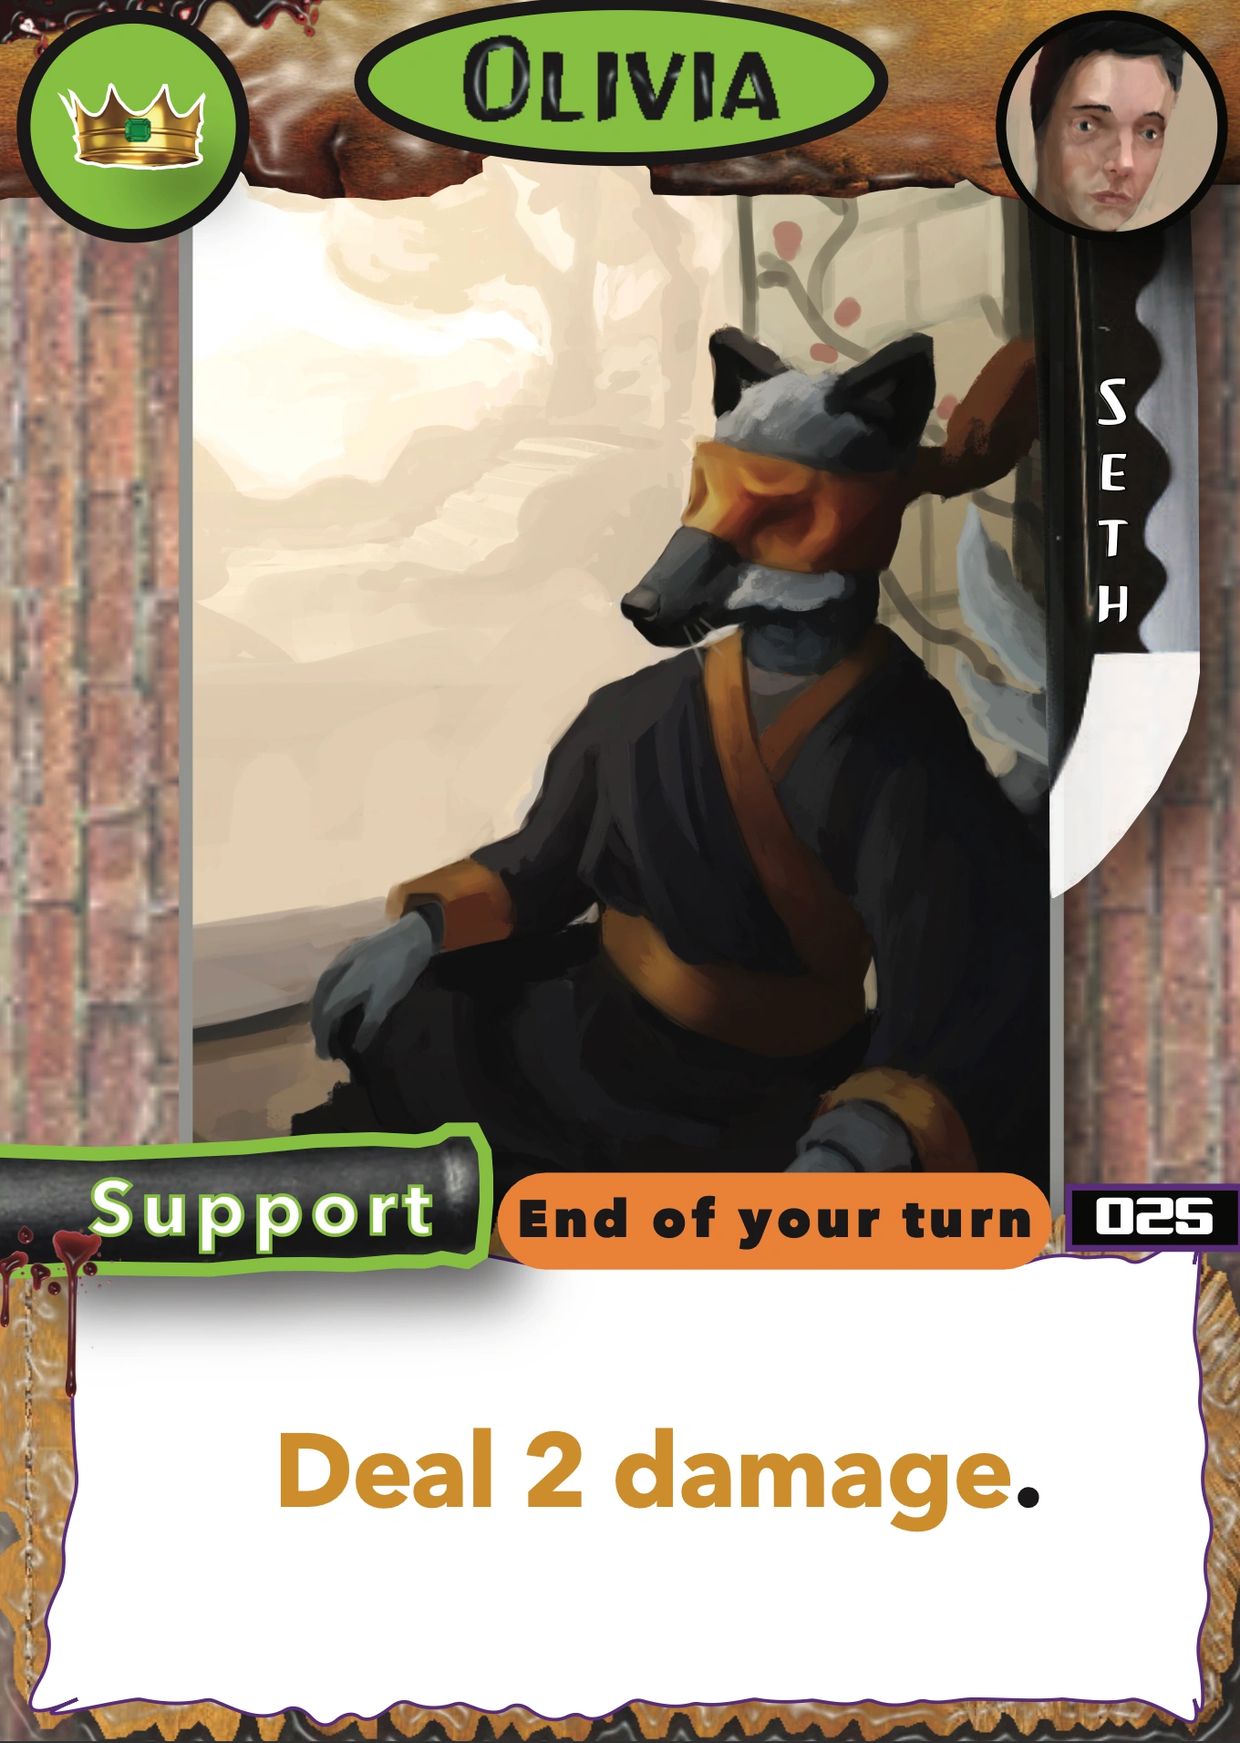
Card Number 025: Olivia

While this Support is on your side of the field, you will, at the end your turn, deal 2 points of damage to any 1 opponent.


Combine this with his Items, and you can quickly put the game out of your opponents' reach.

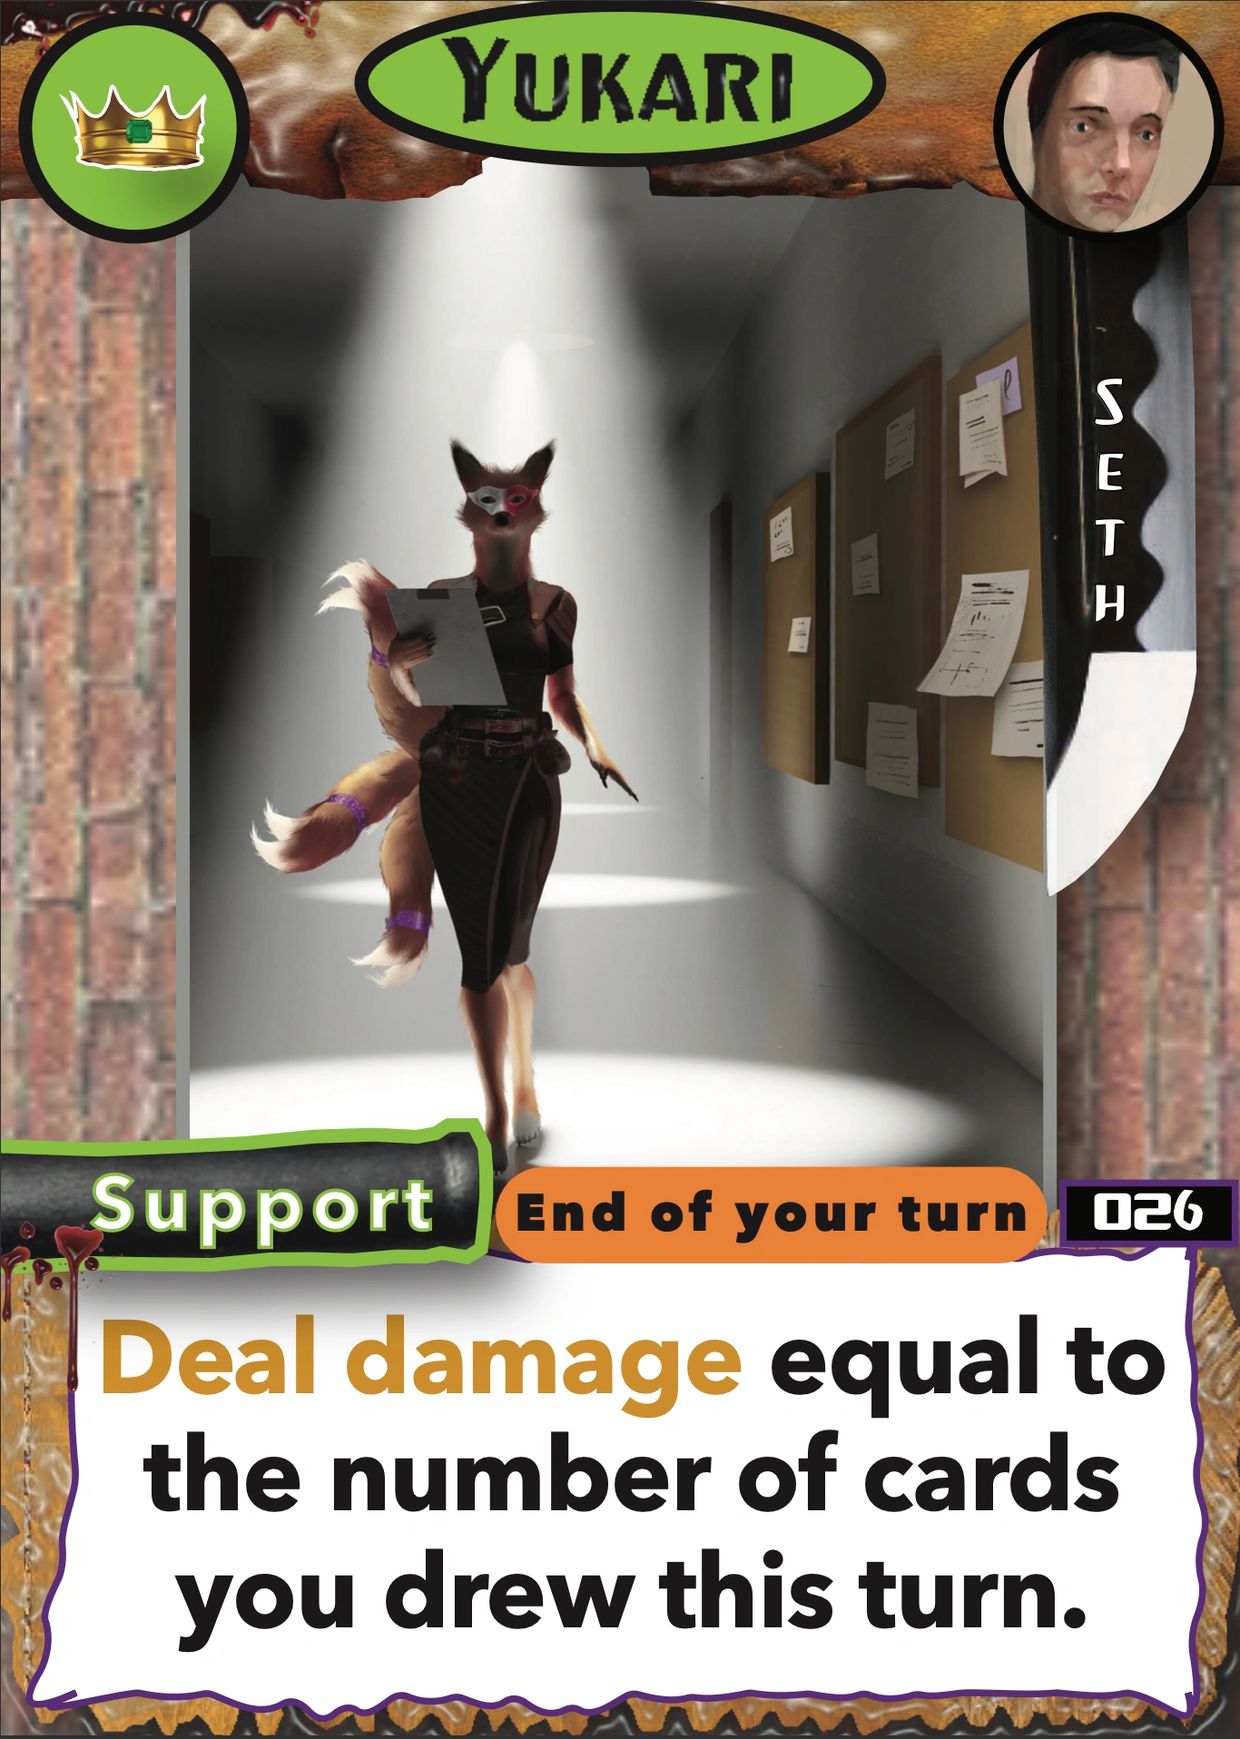
Card Number 026: Yukari

While this Support is on your side of the field, you will, at the end of your turn, deal damage equal to the number of cards you drew that turn.

Yes, that includes the card you drew during your draw phase.

No, this does not include the 3 cards in your opening hand.


Like Olivia, this pairs well with Seth's Items.


Remember that when more than 1 card triggers at the same time, such as at "the end of your turn," the player taking their turn decides in which order those cards resolve (a card's individual effects always resolve in the order they're written).

If you have Seth's Item, Angel's Sword, in play, which allows him to draw 2 cards when he lowers an opponent's hit points, the order in which you resolve things matters.

If Yukari damages an opponent at the end of Seth's turn, and Seth afterwards triggers Angel's Sword to draw 2 cards, this will not reactivate Yukari a second time at the end of the same turn, meaning Yukari won't deal an extra 2 points of damage for the 2 cards Seth just drew via Angel's Sword.

HOWEVER, if Seth has, let's say, Oliva, Yukari, (both have "end of your turn" triggers), and Angel's Sword on his side of the field, Seth COULD trigger Oliva first, dealing 2 damage and thus triggering Angel's Sword, causing him to draw a card. THEN Seth could trigger Yukari, dealing damage equal to all the cards Seth drew that turn, in this case including the 1 Angel's sword netted him.

In this example, Seth COULD trigger Yuakri before Olivia, but that would result in dealing 1 points fewer damage via Yukari (because Yukari would've, in that case, triggered BEFORE Angel's Sword).

Order of operations matters.

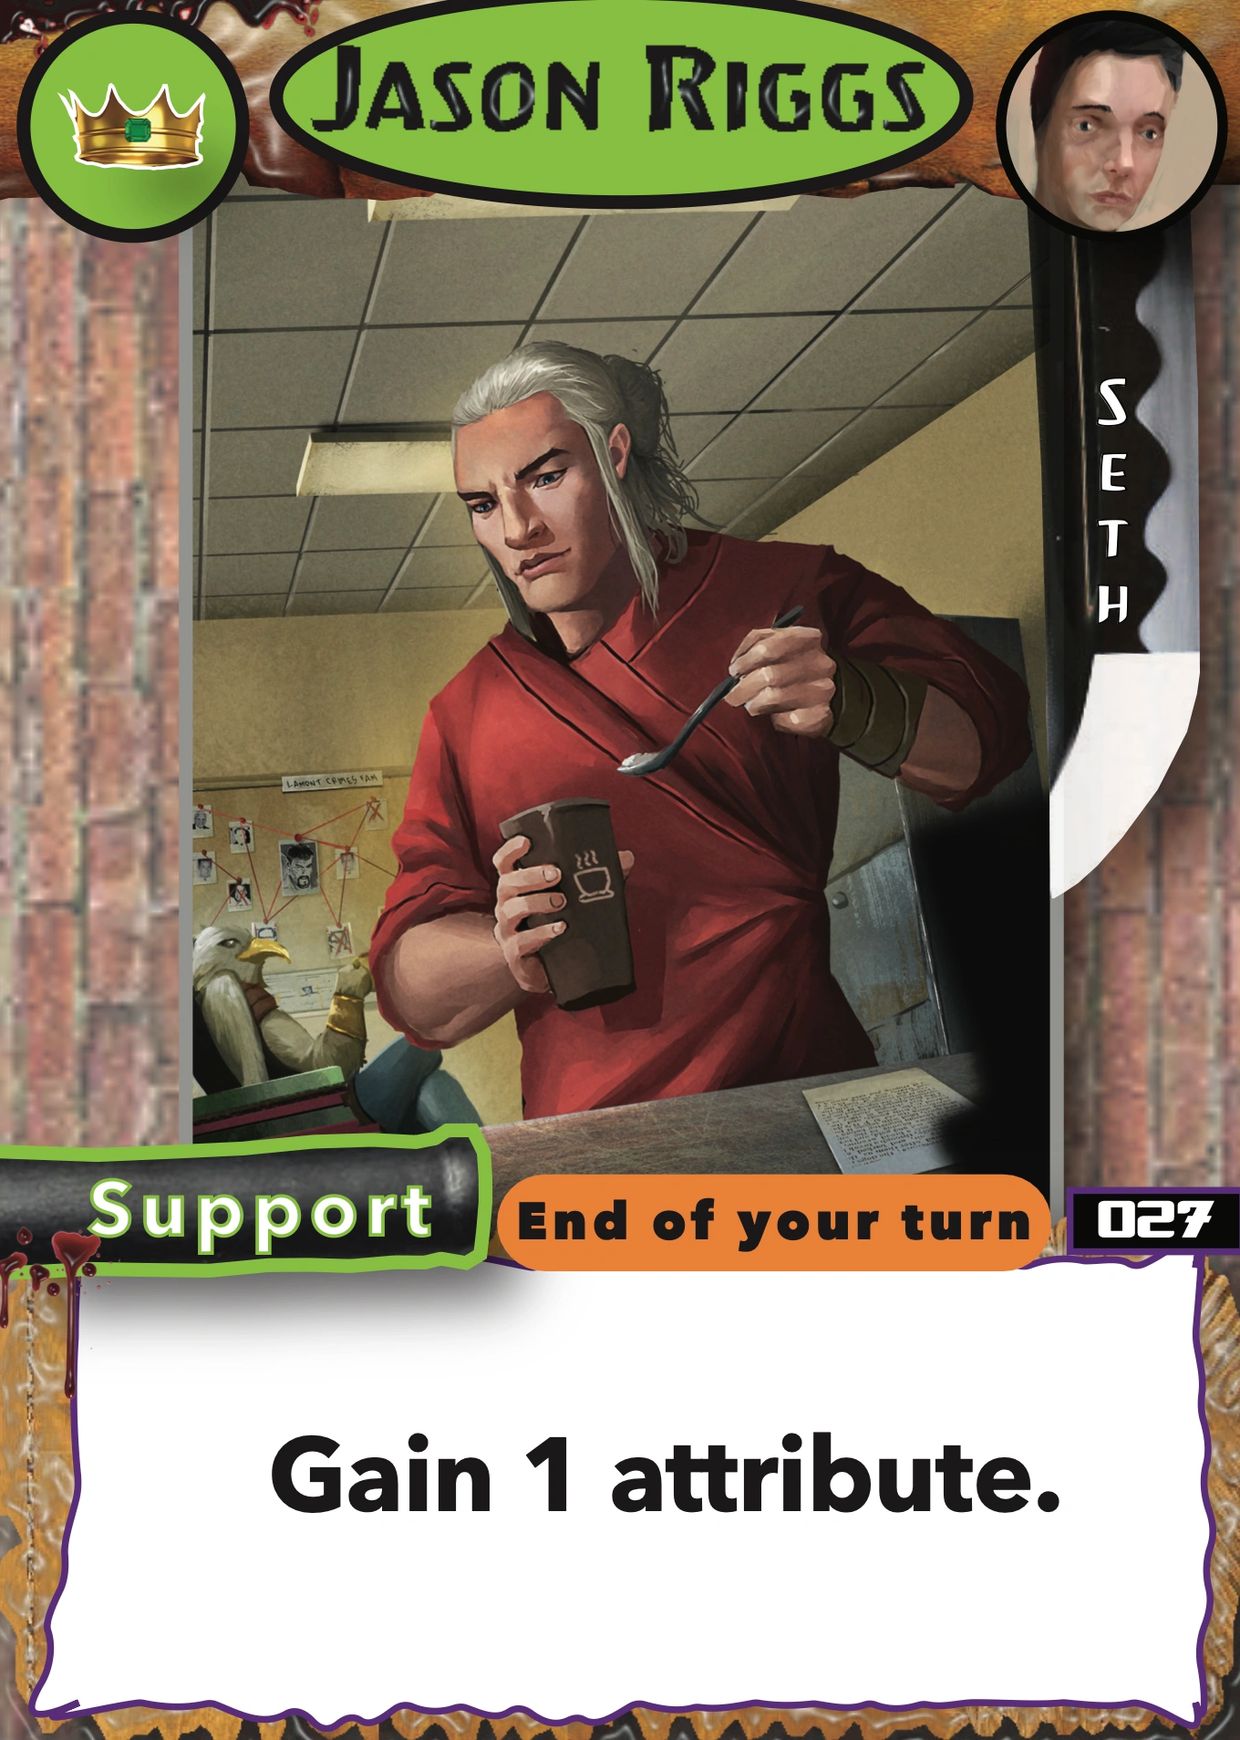
Card Number 027: Jason Riggs

Ramp (gaining extra attribute points) is great.


In true Seth style, this is the simplest, repetitive ramp imaginable.


While Jason Riggs is on your side of the field, you will, at the end of turn, gain 1 point in the attribute of your choice (they all max at 5 points).


Note that when a card's trigger box says something like "the end of your turn" or "the start of your turn" or anything like that, it means each of your turns for as long as that card is on your side of the field.


In the early to mid game, Jason Riggs helps you stay ahead of your opponents.

The longer the game goes, the less this Support does for you.

Given Seth's fast-punching nature, though, his matches often never see what "late game" looks like.

Still, if you reload (which Seth rarely does, given his ability), Jason Riggs is a good card to banish, as it's probably already done its work by that point.
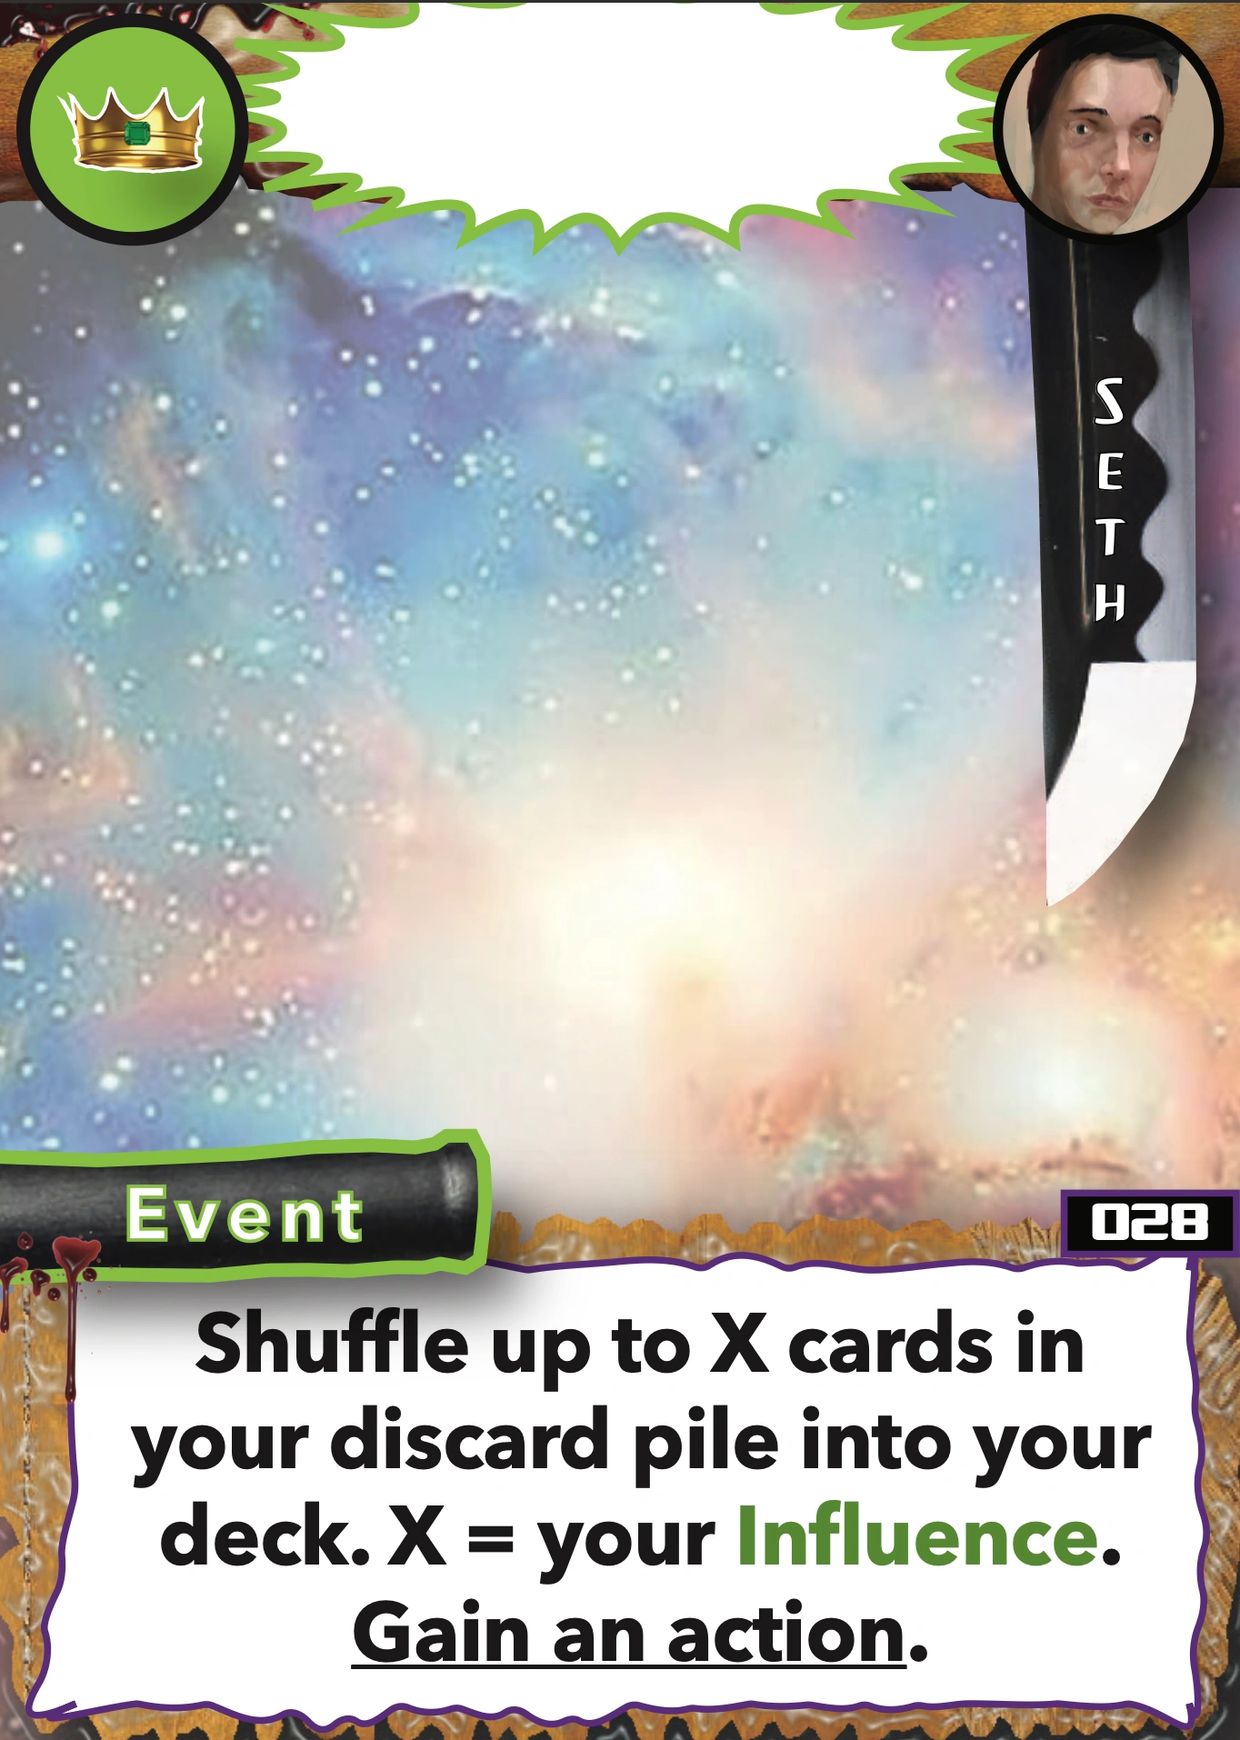
How Event Cards Work

Spend 1 action to play an Event from your hand.


Do what the card says in the order it's written.


While an Event's effects resolve, that card does not exist anywhere.

It is considered, "in the ether," no longer in your hand, on the field, in a deck or discard pile.


Only after its effects resolve, will a played Event enter its discard pile.

Card Number 028:

(artwork and title coming soon)


When you play this Event, shuffle up to X cards from your discard pile into your deck, where X equals the number of points you have in Influence.


Afterwards, you gain an action.

Don't forget this part!


That might seem redundant, given Seth's ability, but doing it multiple times for "free" (so to speak, considering the extra action this card gives you) is far better than once at the cost of an action (which is what Seth's ability gives you).


This Event's second effect essentially gives you a 100% rebate on the action you spent to play it, making this card "sort of free" to play.

Only sort of, though.

You still need to an action to spend playing it, you'll just get that action back when you're done.


This is also useful when you want to draw a lot of cards via Angel's Sword (one of Seth's Items) just to power-up a lot of damage with Yukari (one of Seth's Supports).

How Item Cards Work

Spend 1 action to play an Item from your hand.


To do this, you'll need a number of points in Knowledge equal to or greater than the Item's level.


When you play an Item, place it face-up on your side of the field above your character board.

It's now considered "under Your control" and "in play."


While on your side of the field, Items offer continuous effects to aid you.


Unless an Item  in play says otherwise, you do not need to spend any actions to activate its effect(s).


Like Supports, Items have an orange trigger box that tells you when and how often its effects are triggered or can be activated.

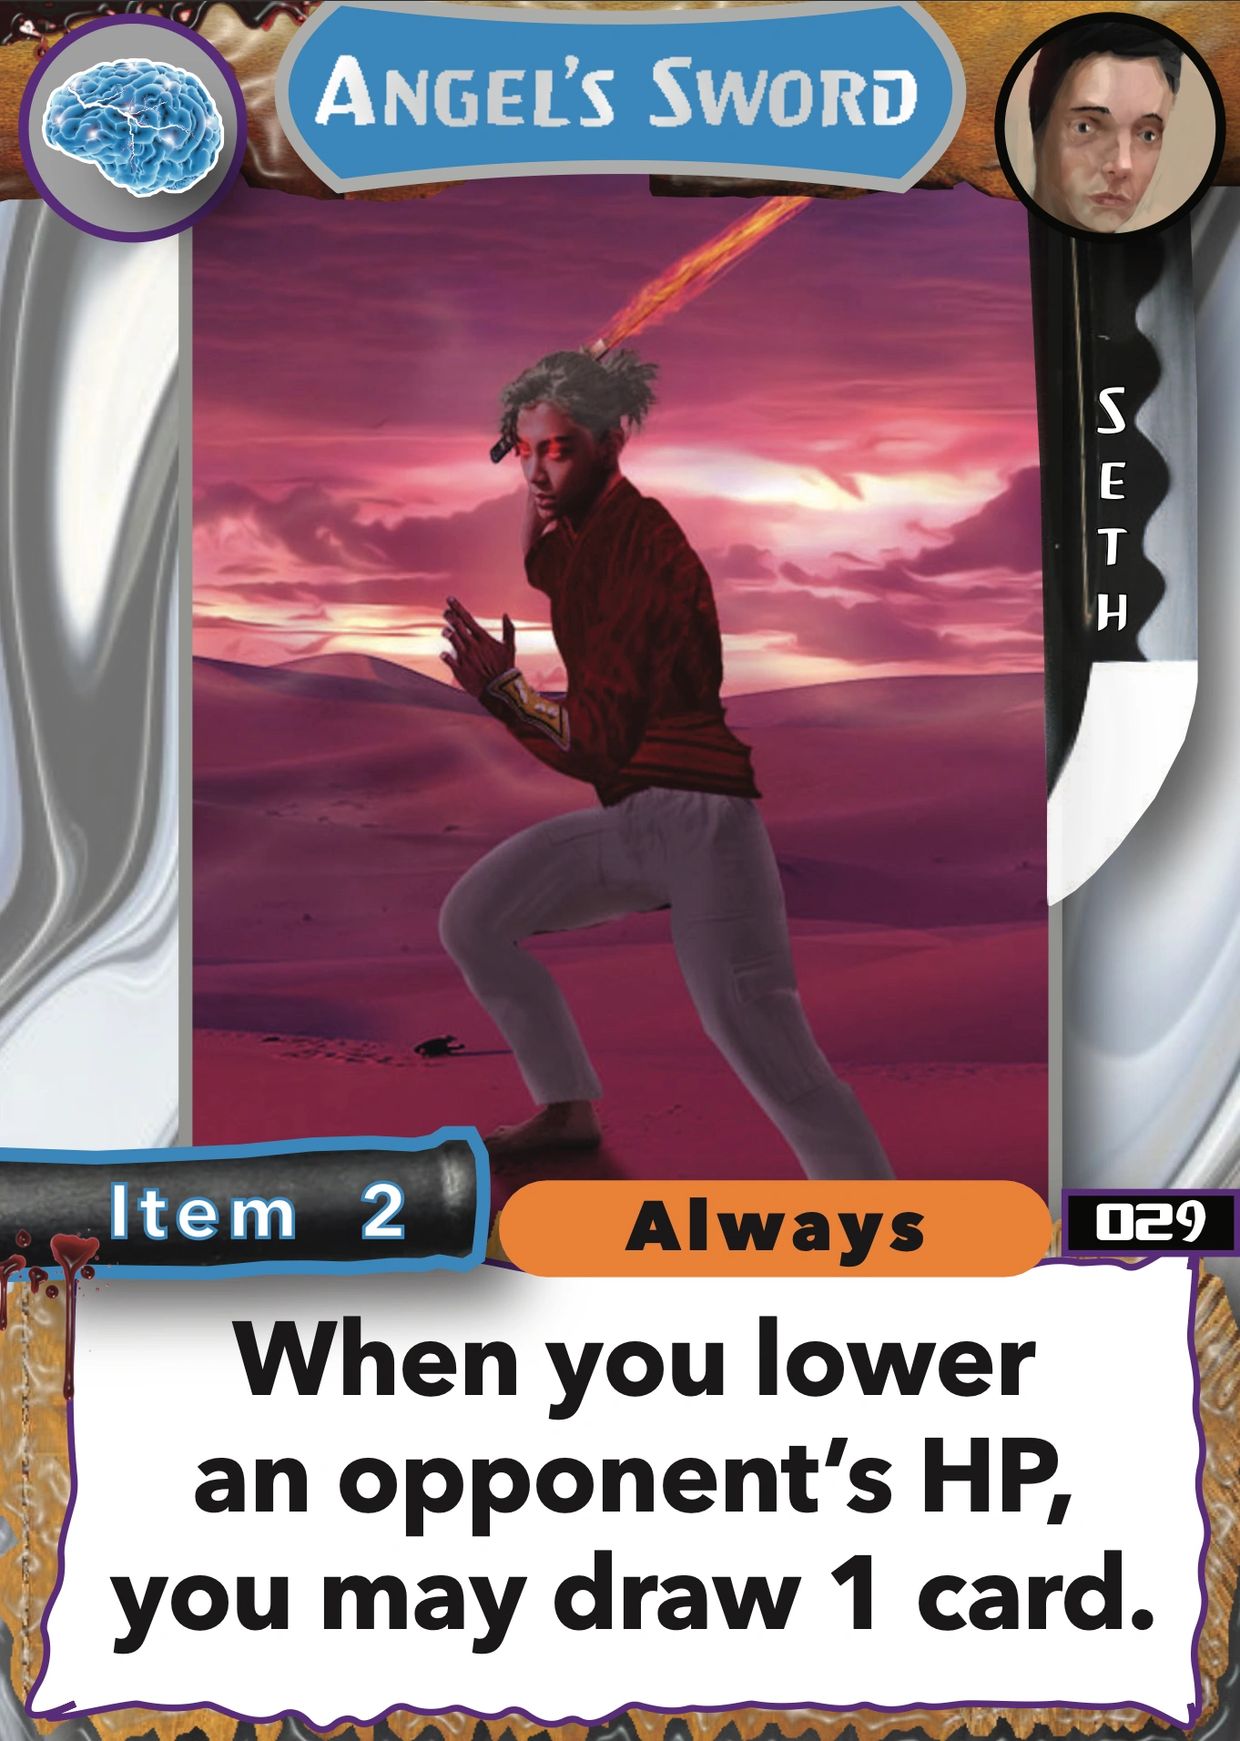
Card Number 029: Angel's Sword

While this Level 2 Item is on your side of the field, you may, every time you lower an opponent's hit points, you may draw 1 card from your deck, adding it to your hand.


This can result in excellent card draw, which can power-up his Support card, Yukari.


Angel's Sword gives great value in the early game, but as Seth's deck thins (as it will) this card will provide less card advantage.

Card Number 030: Bokken

(artwork coming soon)


While this Item is on your side of the field, up to once during EVERY player's turn, whenever you would lose hit points, lower that damage by the number of Items you control (Bokken counts itself).


Yeah, Seth can parry.

Ignoring 1 to 3 points of damage every turn is a great way to stay in the game.


Note, if you're opponent throws damage at you, you can choose to take it, rather than activate Bokken's effect (saving the effect for, perhaps, a separate instance of damage you expect to otherwise take during that same turn).

There's little reason to do this, though.


Yes, Bokken can reduce the cost of spending hit points to activate effects, however, Seth's deck doesn't have any cards that require you to spend your hit points.

However, there's such a thing as Draft Mode (see "other modes of play"), and this "price reduction" can count for a lot under those circumstances.

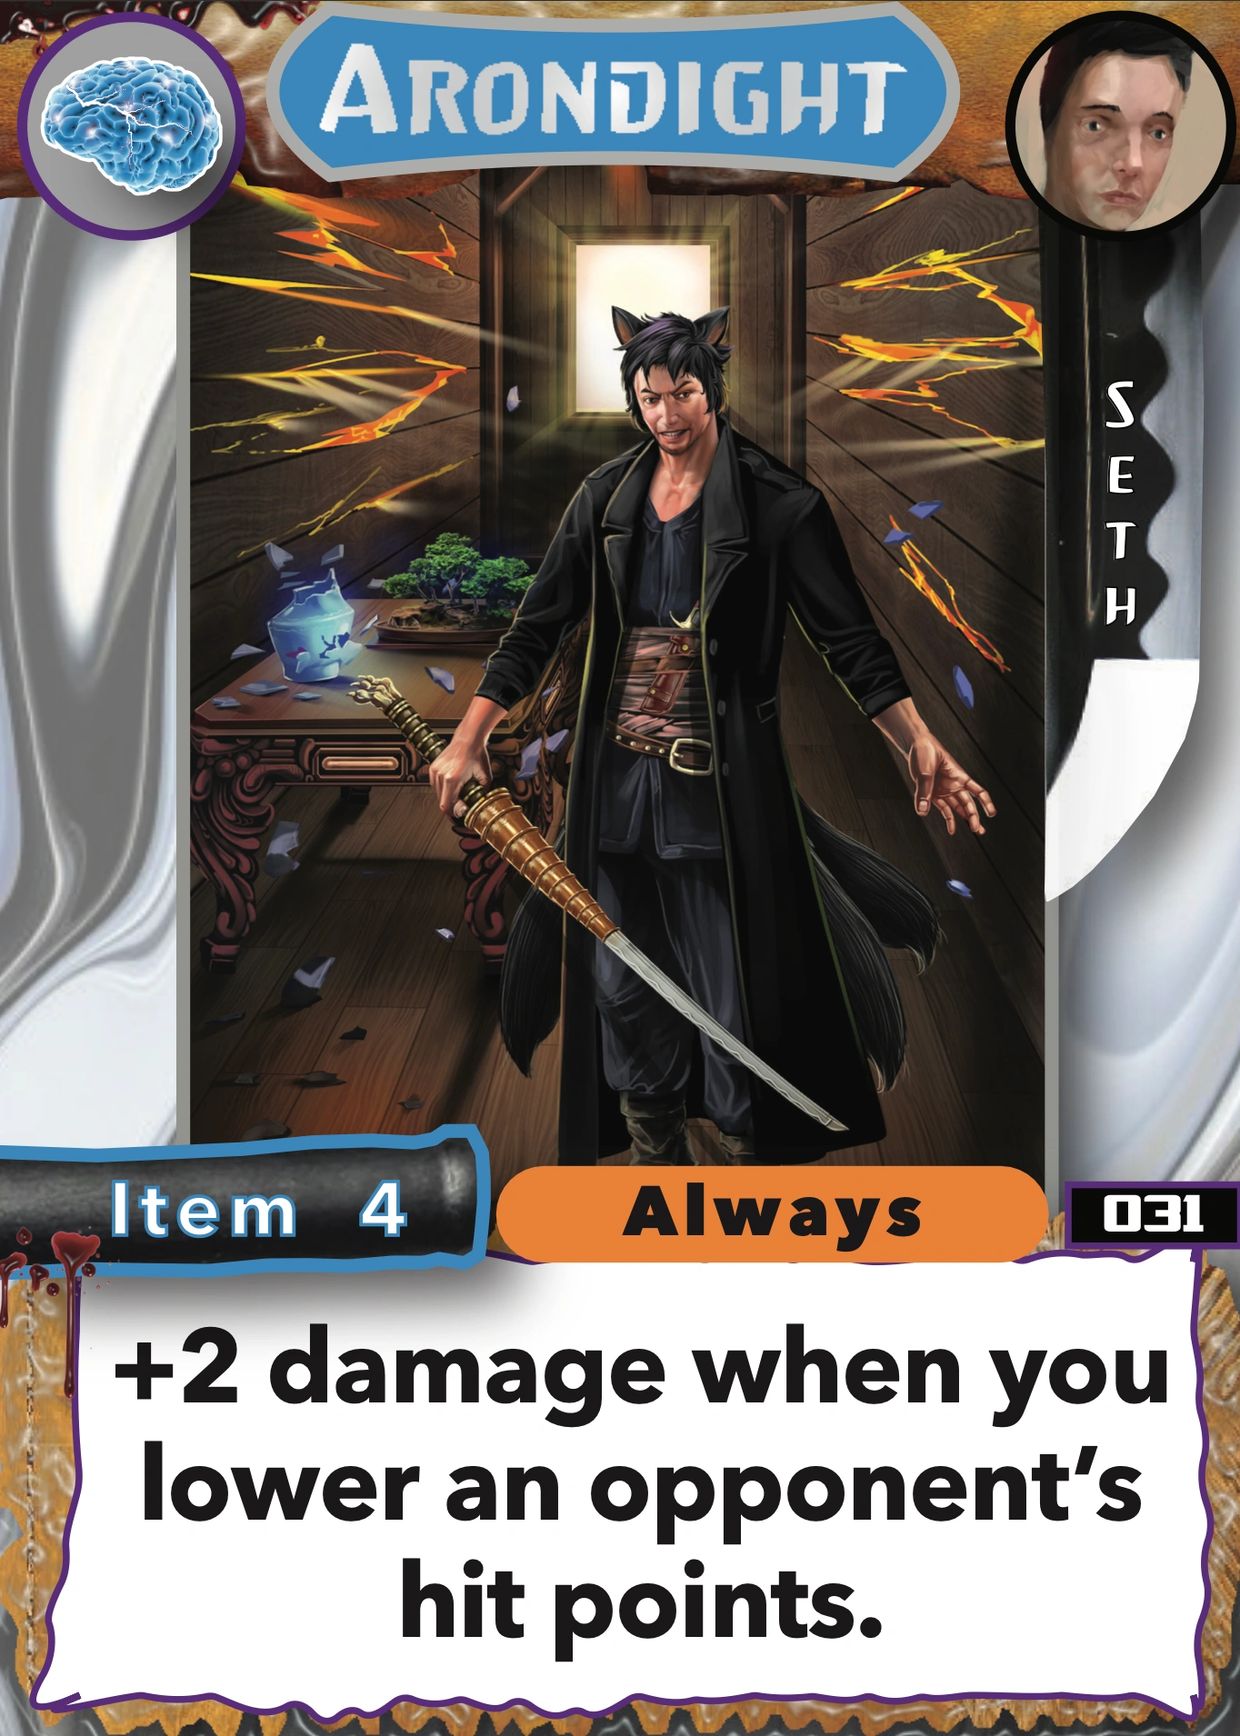
Card Number 031: Arondight

Ever wonder what you opponent looks like sobbing uncontrollably in the fetal position?

Find out with Arondight!


As long as this Level 4 Item is on your side of the field, all your attacks deal 2 extra points of damage.


Your opponents are on a serious, unforgiving clock once Arondight comes down.


If you're playing against Seth, & you notice he's investing a lot of points in Knowledge, you better get some removal handy and sit on it, because you'll want to blow this Item up the second it shows its ugly face.

Deal with Seth's cards before they deal with you, folks.

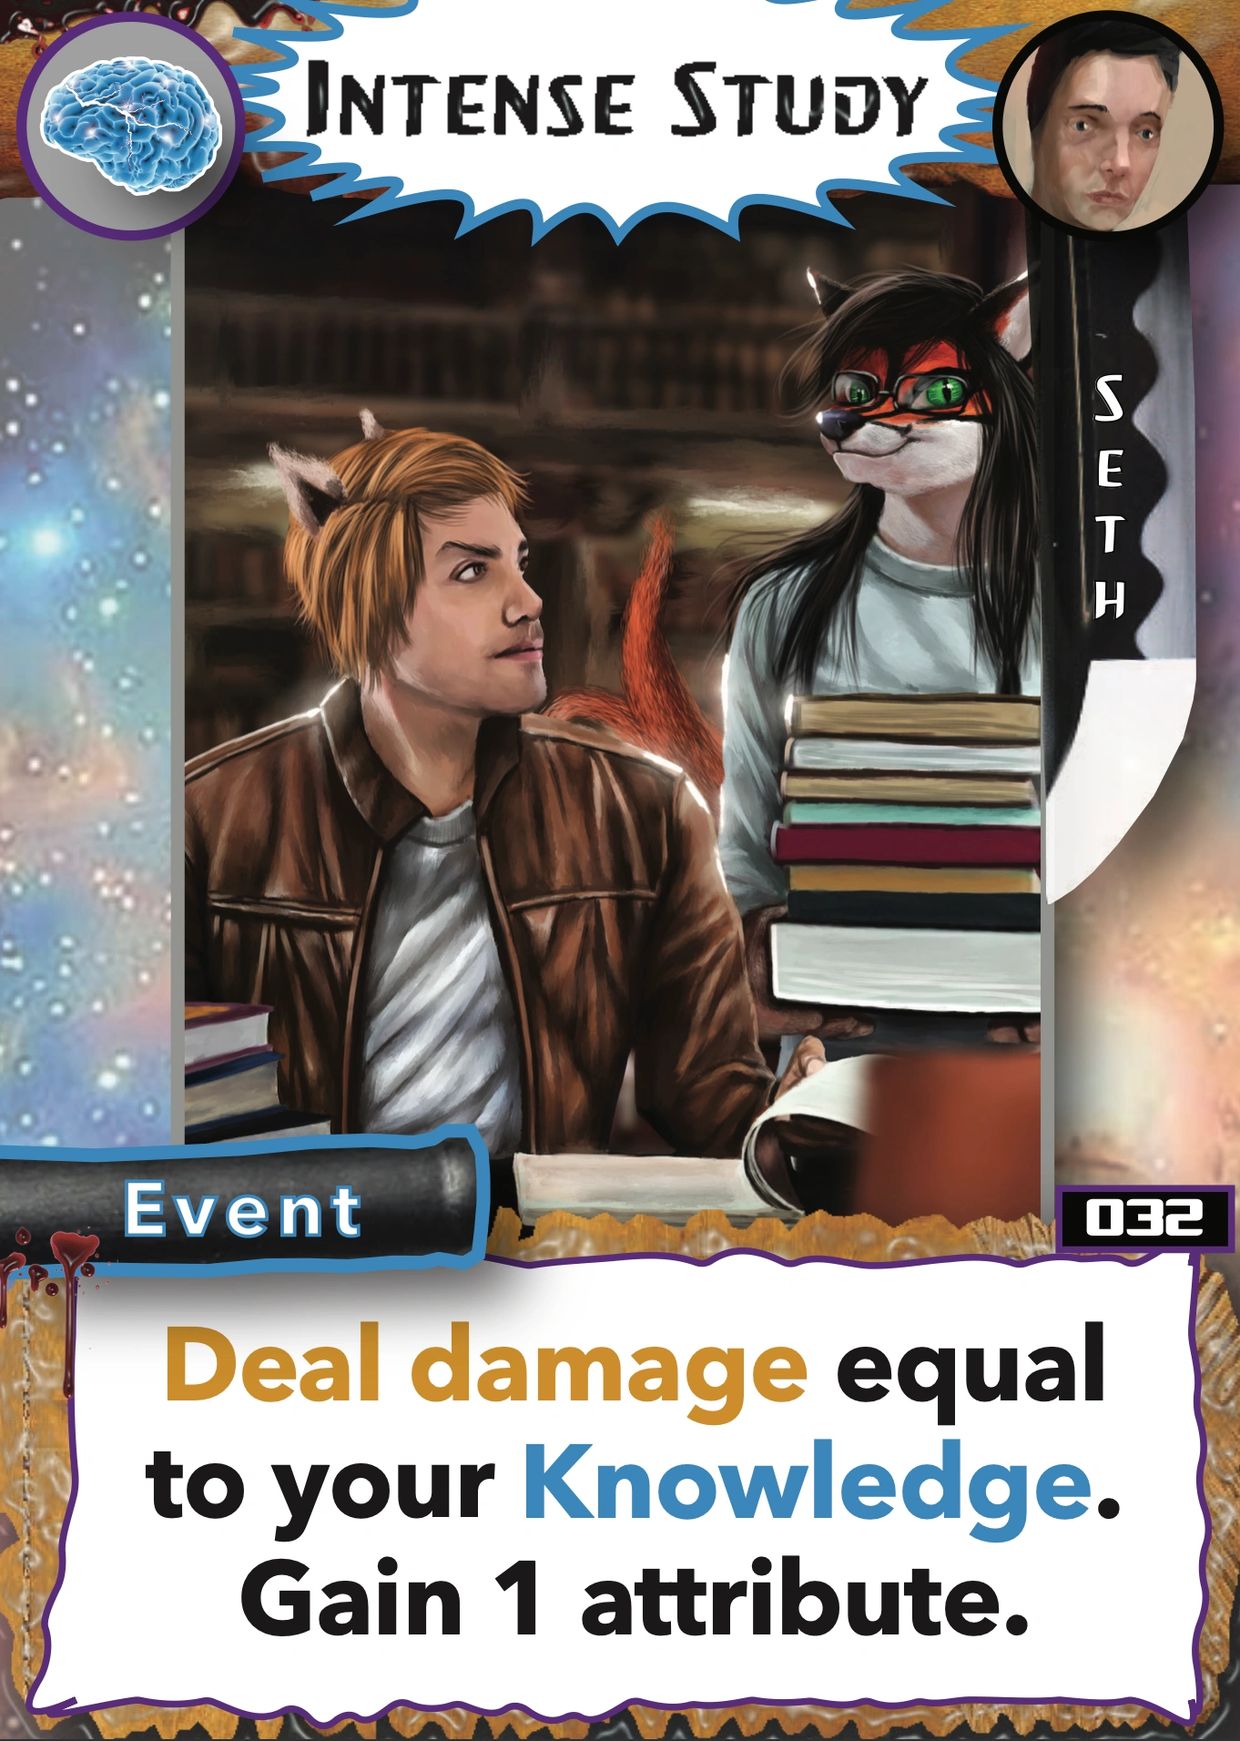
Card Number 032: Intense Study

When you play this Event, you'll deal damage equal to your Knowledge.


Afterwards, gain 1 point in any attribute (they all max at 5 points).


Remember to perform your card effects in the order they're written.

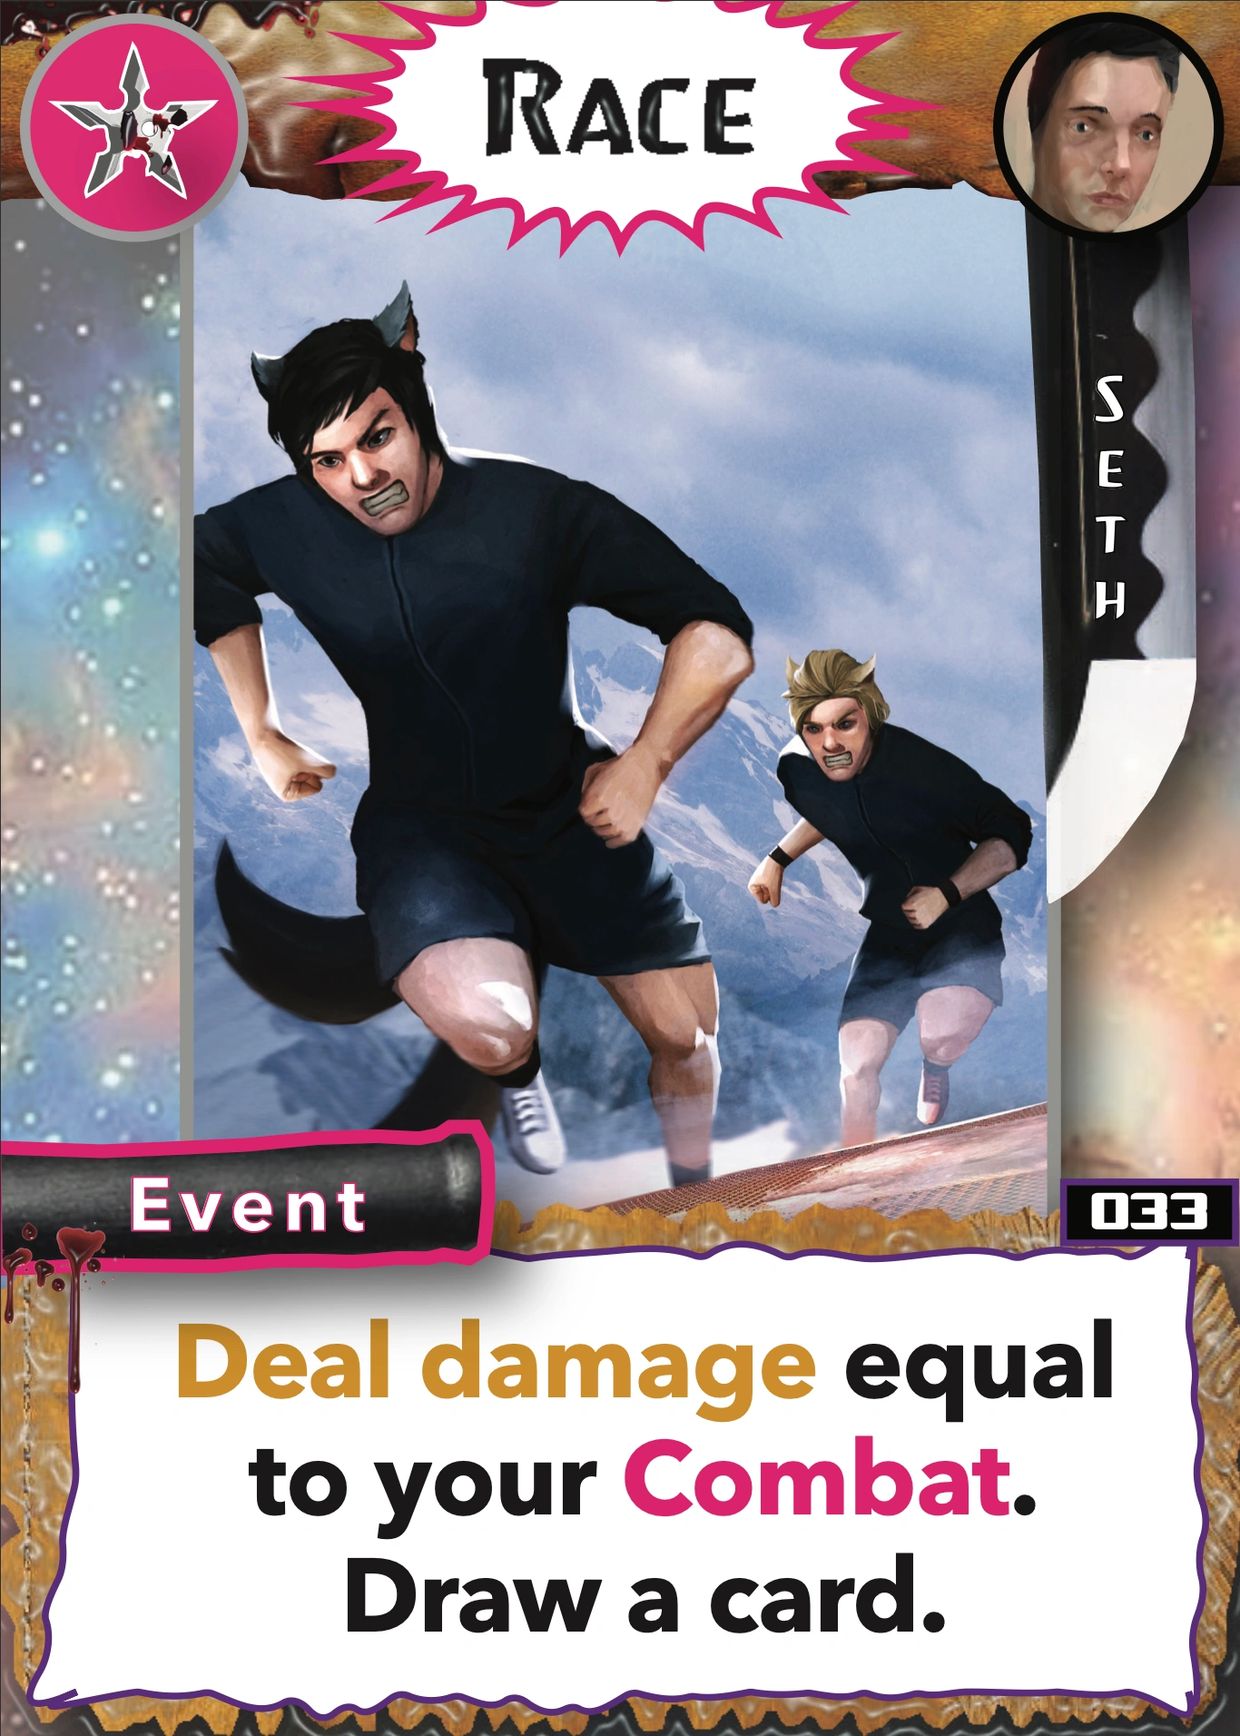
Card Number 033: Race

"I Play . . . the Race Card!"

(I swear I didn't design this just to make that joke)


When you play this Event, swing at an opponent's hit points with damage equal to your Combat.


Afterwards, draw up to 1 card.

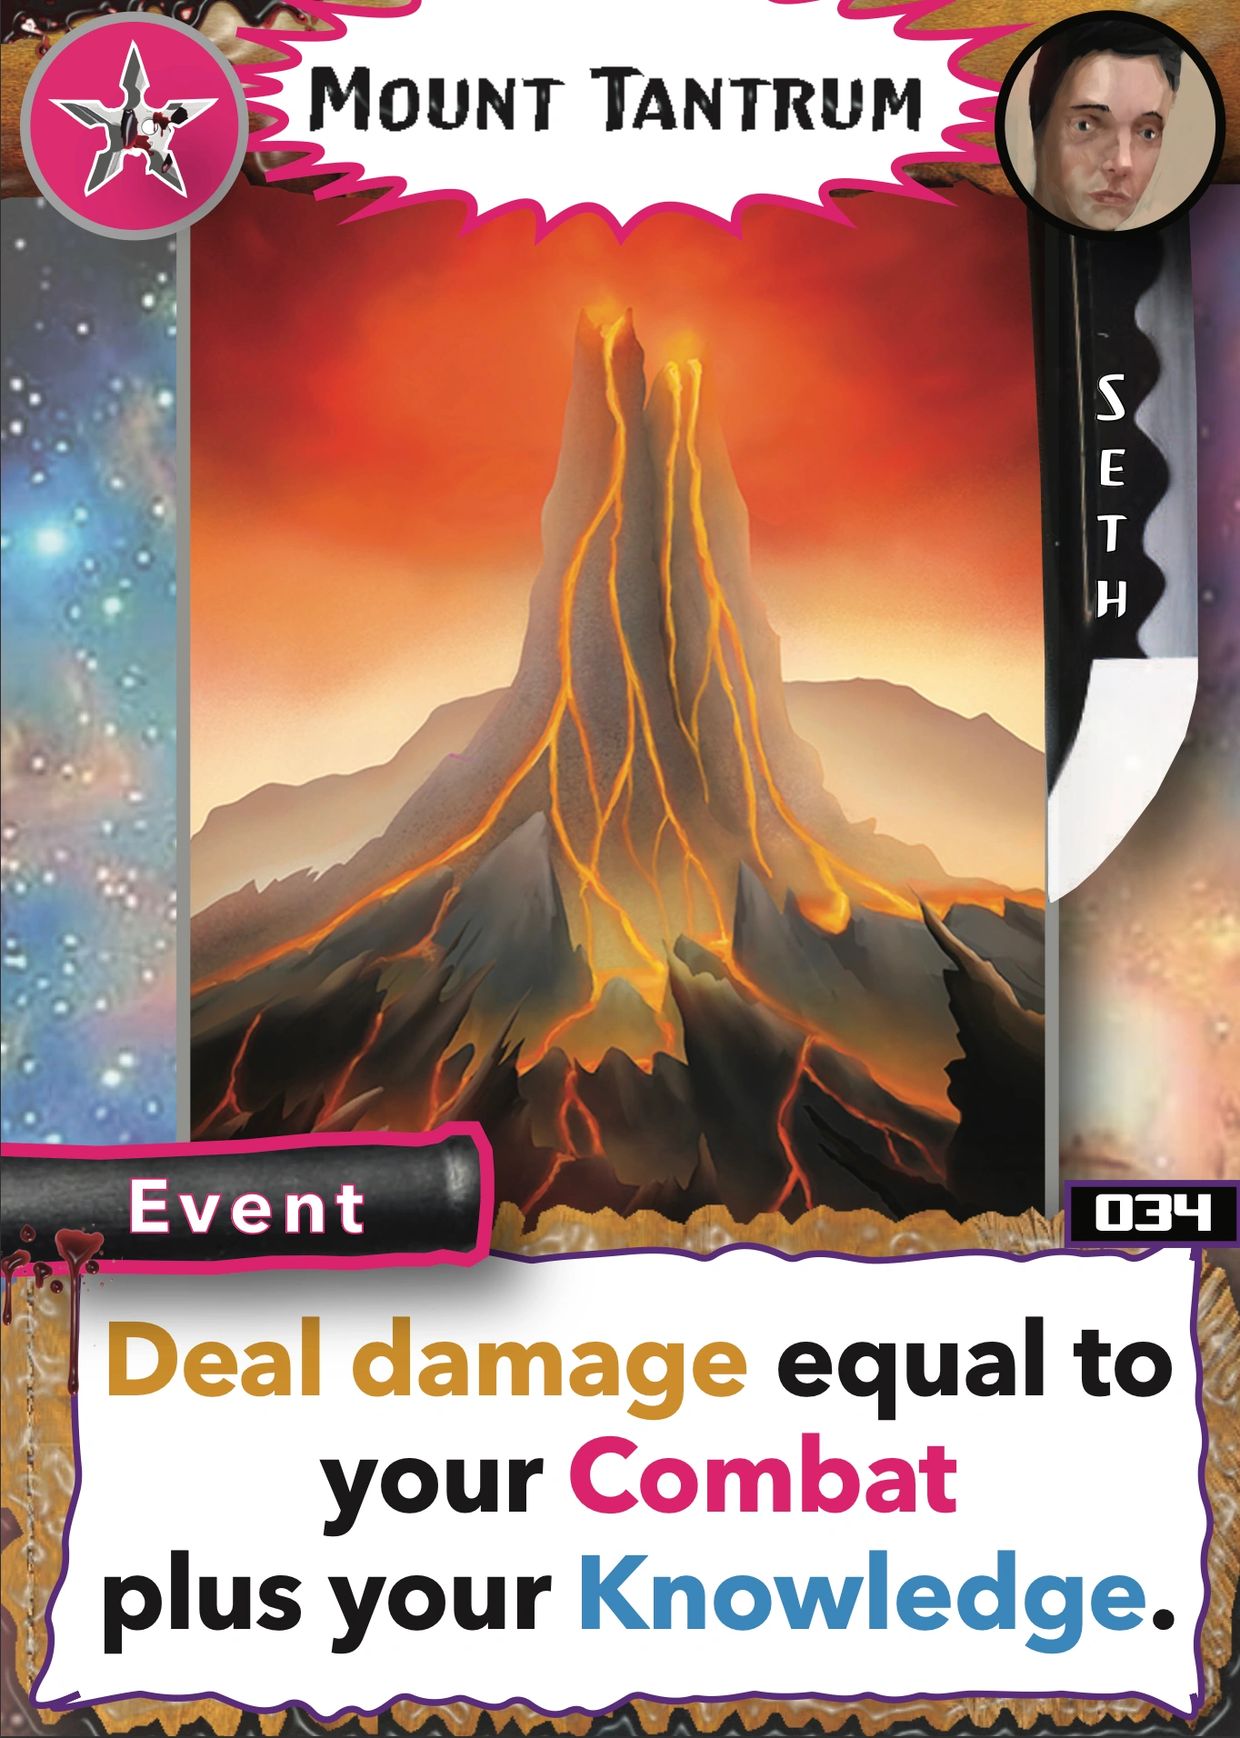
Card Number 034: Mount Tantrum

Seth's nuke, Mount Tantrum, is the only card in the game (thus far) directly affected by 2 attributes.

In this case, when you play Mount Tantrum, you'll deal damage equal to your Combat PLUS your Knowledge.

With a full bar (5 points) in each, this card swings for 10 points of damage (half life bar)!

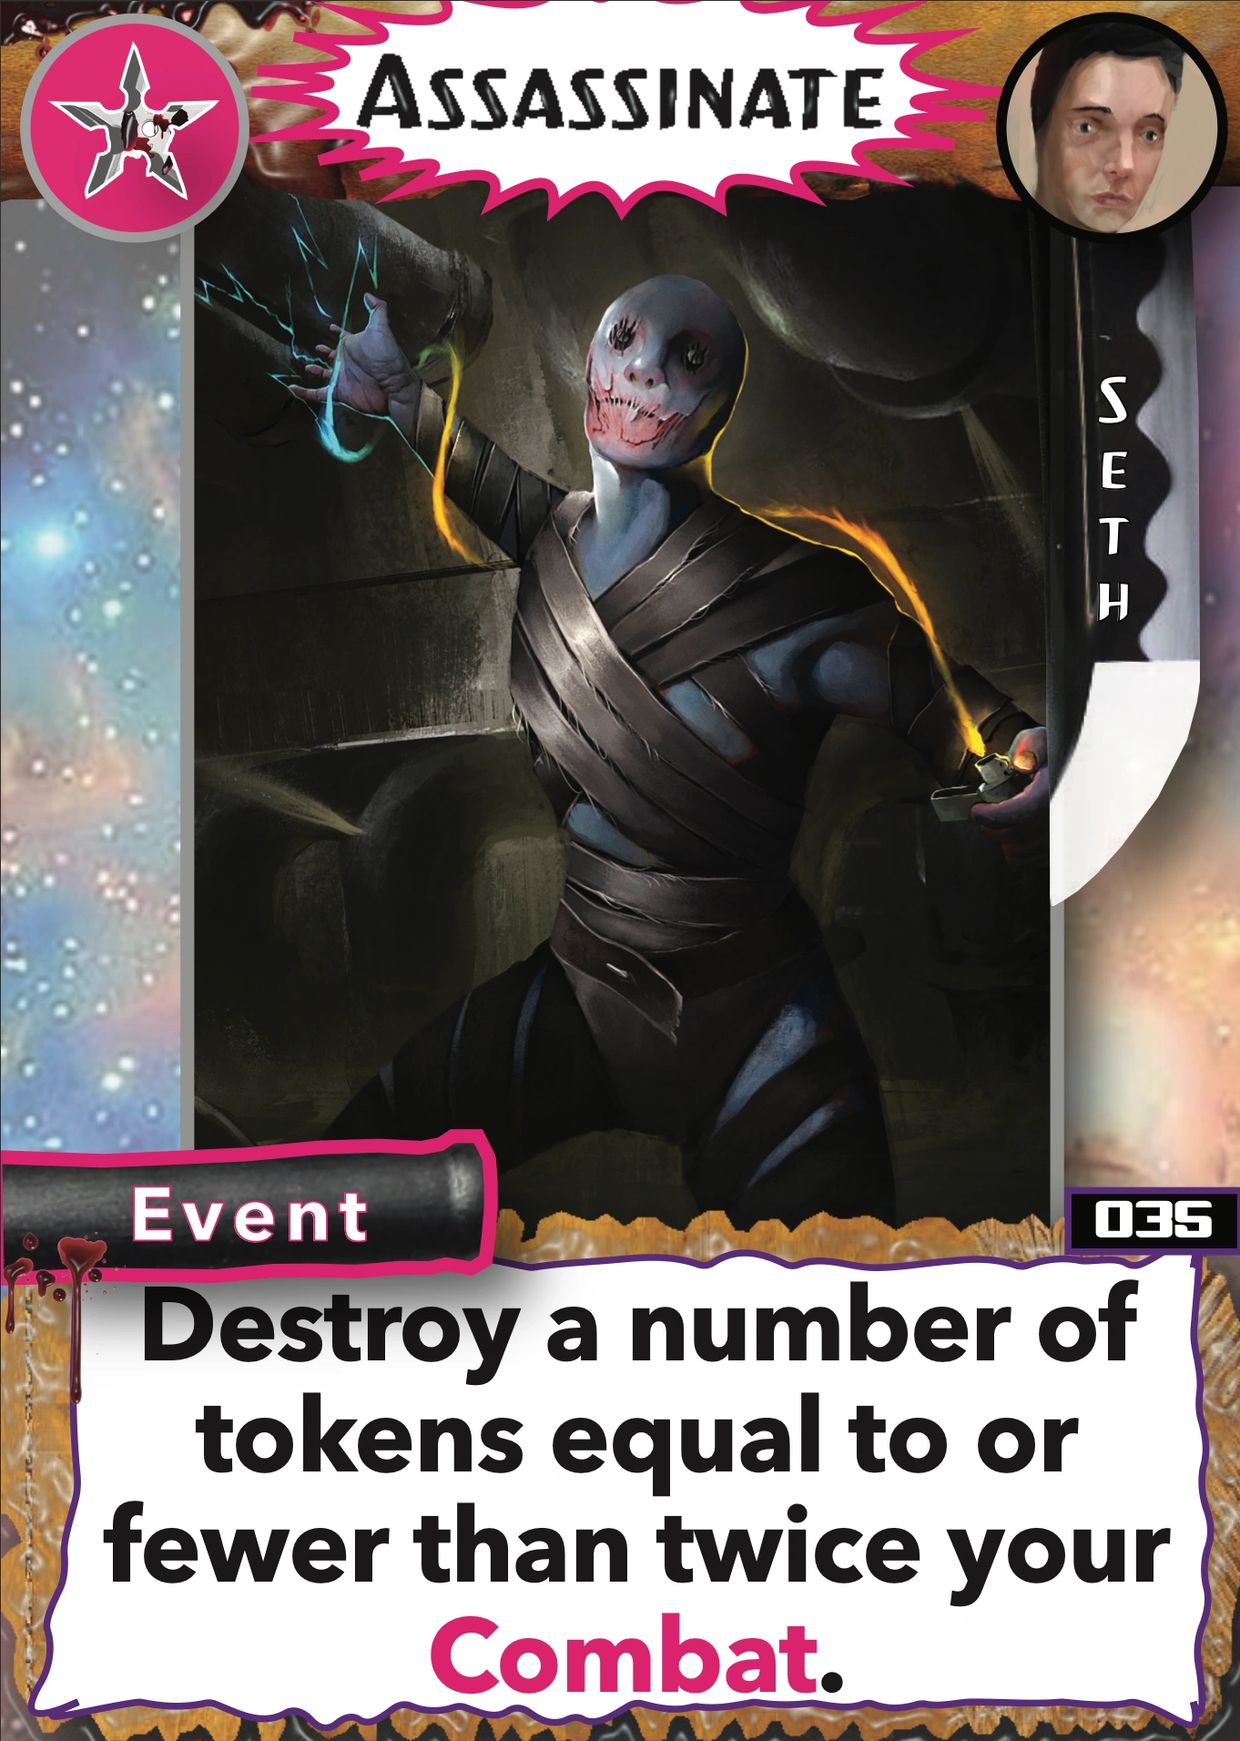
Card Number 035: Assassinate

Token destruction is important, and Seth has the most explosive . . . in terms of how MANY tokens he can remove with a single card.

The downside is that this card does nothing else, making it useless in any situation with no tokens worth destroying.


When you play this Event, you'll destroy a number of tokens equal to or fewer than TWICE the number of points you have in Combat.


Remember that, with token destruction, you can mix and match your targets, blowing up any combination of Stamina, Bleed tokens, Relics, or whichever tokens future sets of Duelists offer.


If you're playing against Seth, and he's investing in Combat, be aware that he can deal easily with large numbers of tokens.

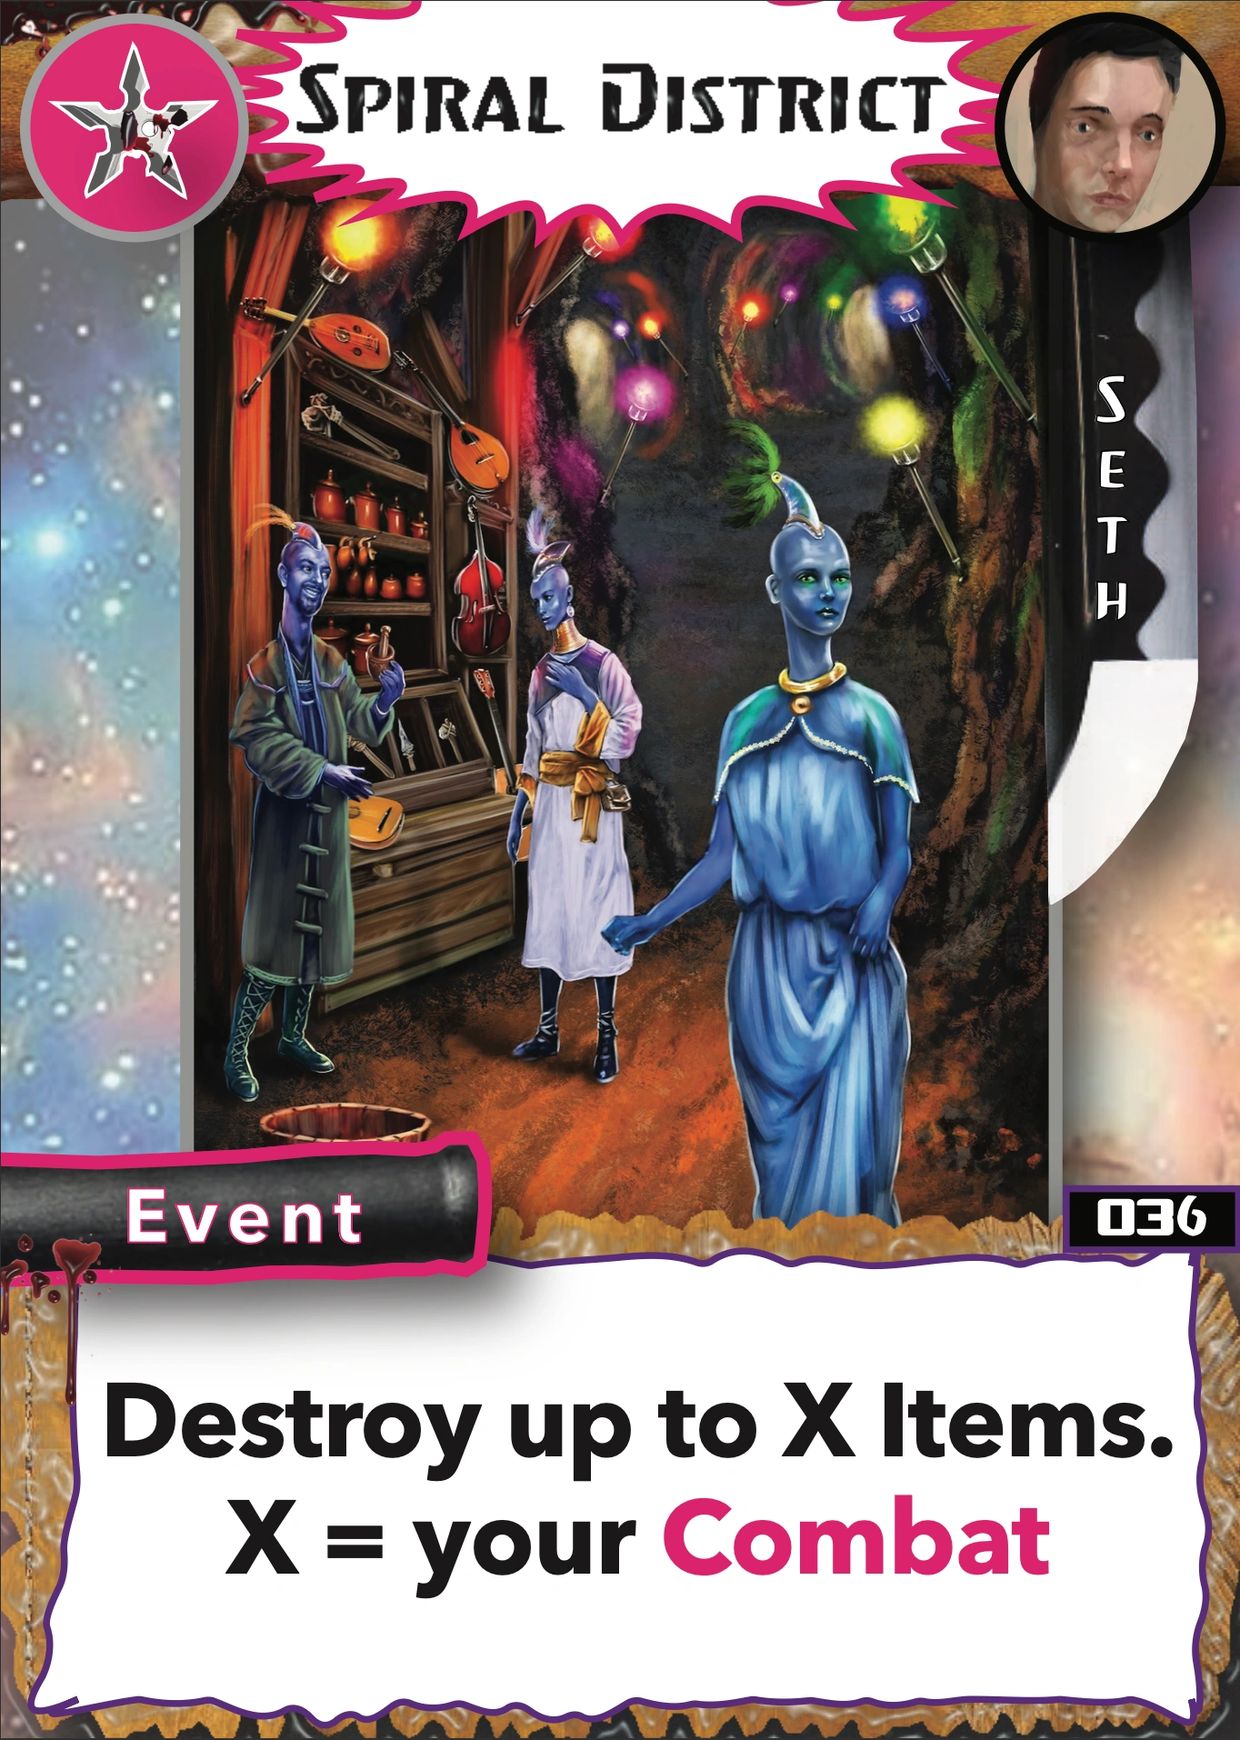
Card Number 036: Spiral District

When you play this Event, destroy (and sends to their discard pile) a number of Items on the field.

That number can be as high as the number of points you possess in Combat.


Like Seth's other card, Assassinate, Spiral District only does one thing, though it does it very well.

If he hasn't worthwhile Items to destroy, Spiral District becomes dead weight in Seth's hand.

However, with this card in hand, Seth can wipe the board of any pesky Items.


If you're playing against Seth, and he's investing in Combat, be aware that he can deal easily with Items.


Copyright © 2015 Darkwana Games - All Rights Reserved.

Powered by

This website uses cookies.

We use cookies to analyze website traffic and optimize your website experience. By accepting our use of cookies, your data will be aggregated with all other user data.

DeclineAccept